Before ever firing a rifle for the first time, one of the critical measurements I like to find right away is the engagement location of a given bullet on the rifling, otherwise known as “finding the lands”. The significance of this is that by knowing where the rifling is in relation to the bullet’s seated depth, the handloader can tune a load for better velocity stability and group size and shape to some degree. It has been well proven that seating depth testing is one of the most important practices a handloader can employ when attempting to squeeze out that last fraction of an inch of potential precision if he or she feels it necessary. And at the most basic level, knowing where the bullet is sitting in relation to the rifling will help the handloader to avoid more serious issues such as over pressure from having excessive bullet stick out (jamming the bullet into the rifling).
While there are several ways to determine the rifling location (with varied results), the method I have found to be most accurate – and more importantly, most repeatable – is the stripped bolt method. Removing the firing pin as well as the spring loaded ejector pin on non controlled round feeding bolts allows the handloader to effectively ‘feel’ the bullet’s engagement with the rifling.
For an excellent presentation of this process, watch Alex Wheeler’s videos on both stripping the bolt and finding the lands:
How to find your lands exactly (Deep Creek Method) – YouTube
Despite the fact that a proud new owner of a precision rifle may have committed to a chosen bullet right off the bat, it is a good idea to conduct the above exercise with as many bullets on one’s shelf as possible. If you’re anything like me, you may want to experiment with different bullets and / or engage in different disciplines which may require the use of different bullets. Regardless of any justification, the more data a handloader has, the better off he or she will be.
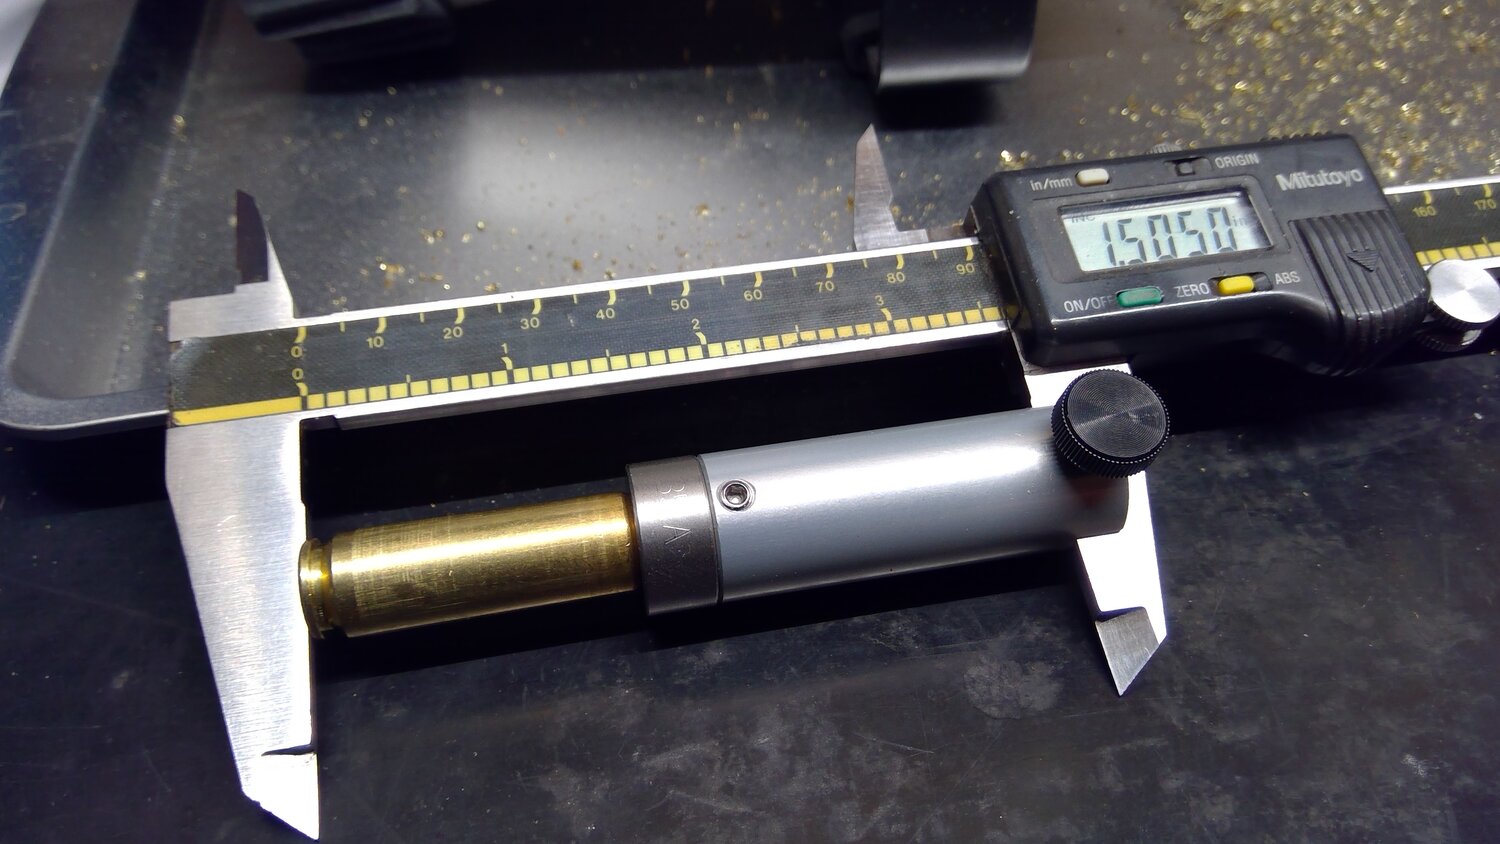
Through my process, I find the lands with each bullet at my immediate disposal and record either the OAL (Over All Length) or the CBTO (Cartridge Base To Ogive) measurements that I get from using the stripped bolt method along with a good set of calipers and my bullet comparator device.
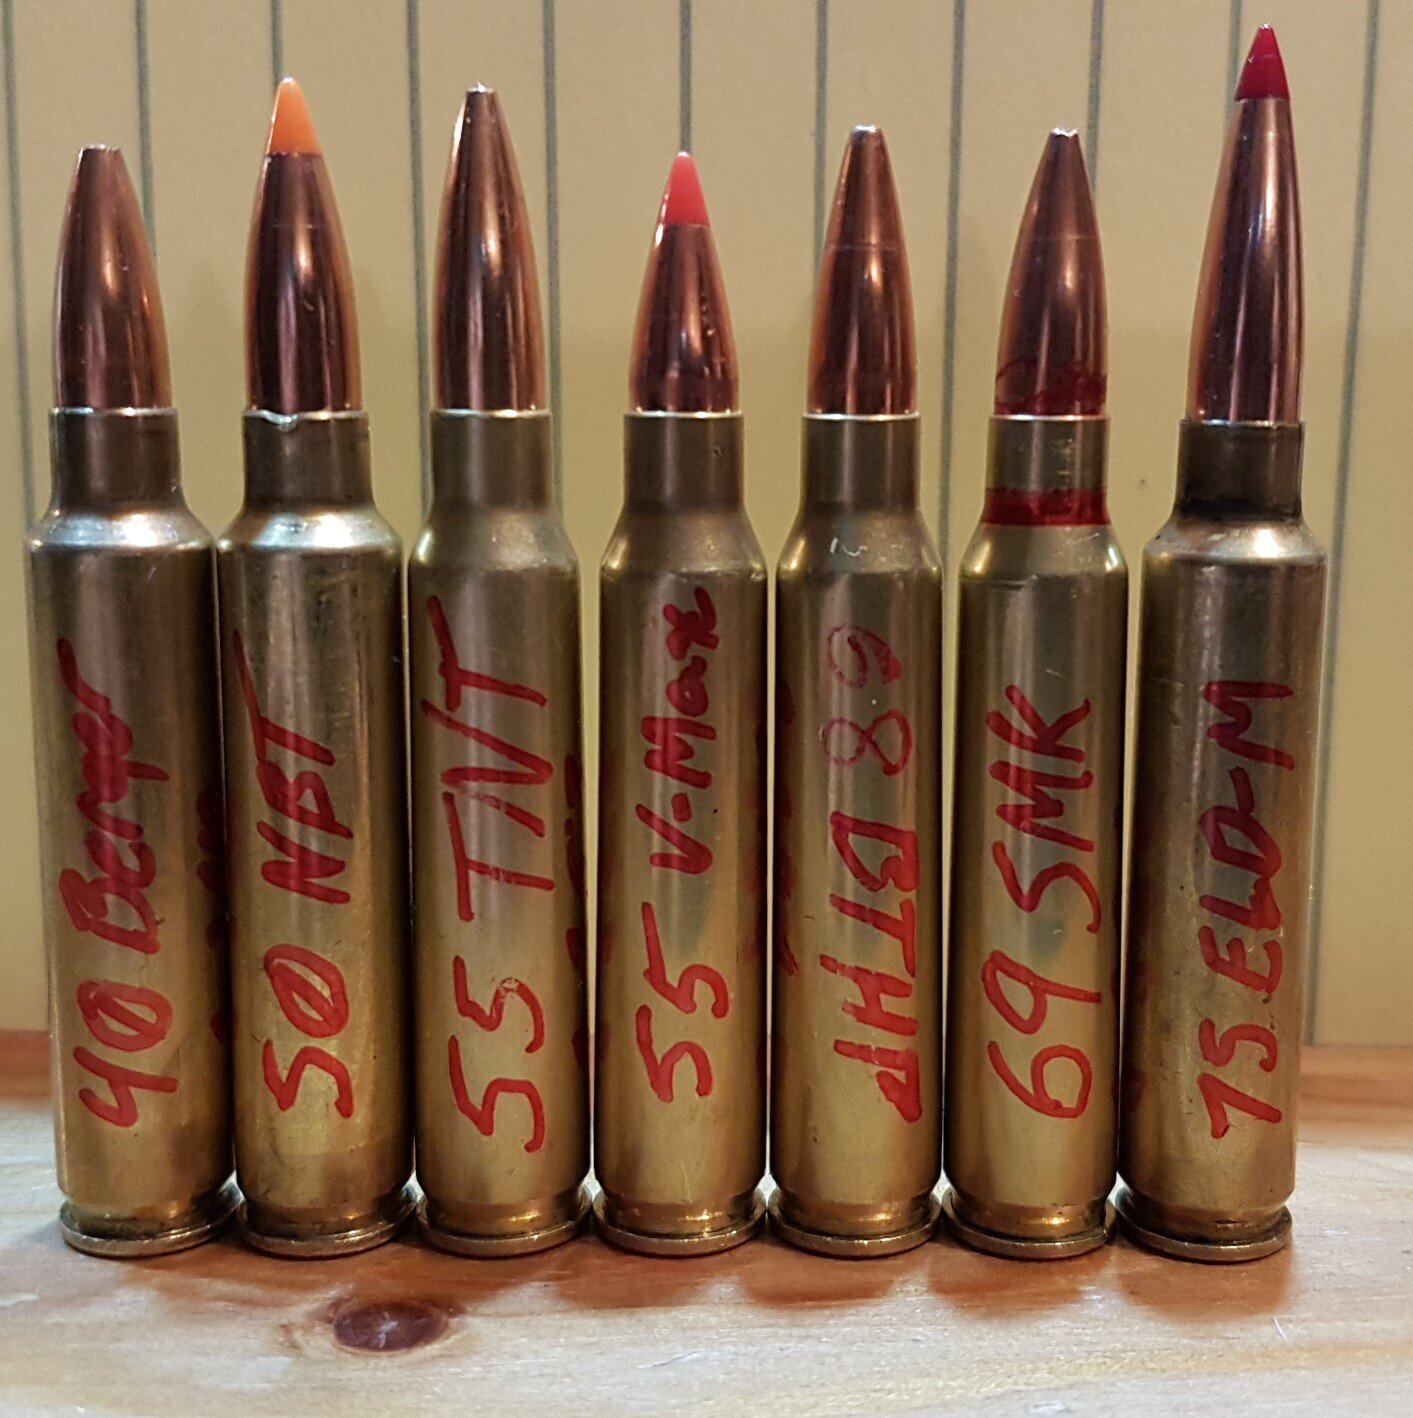
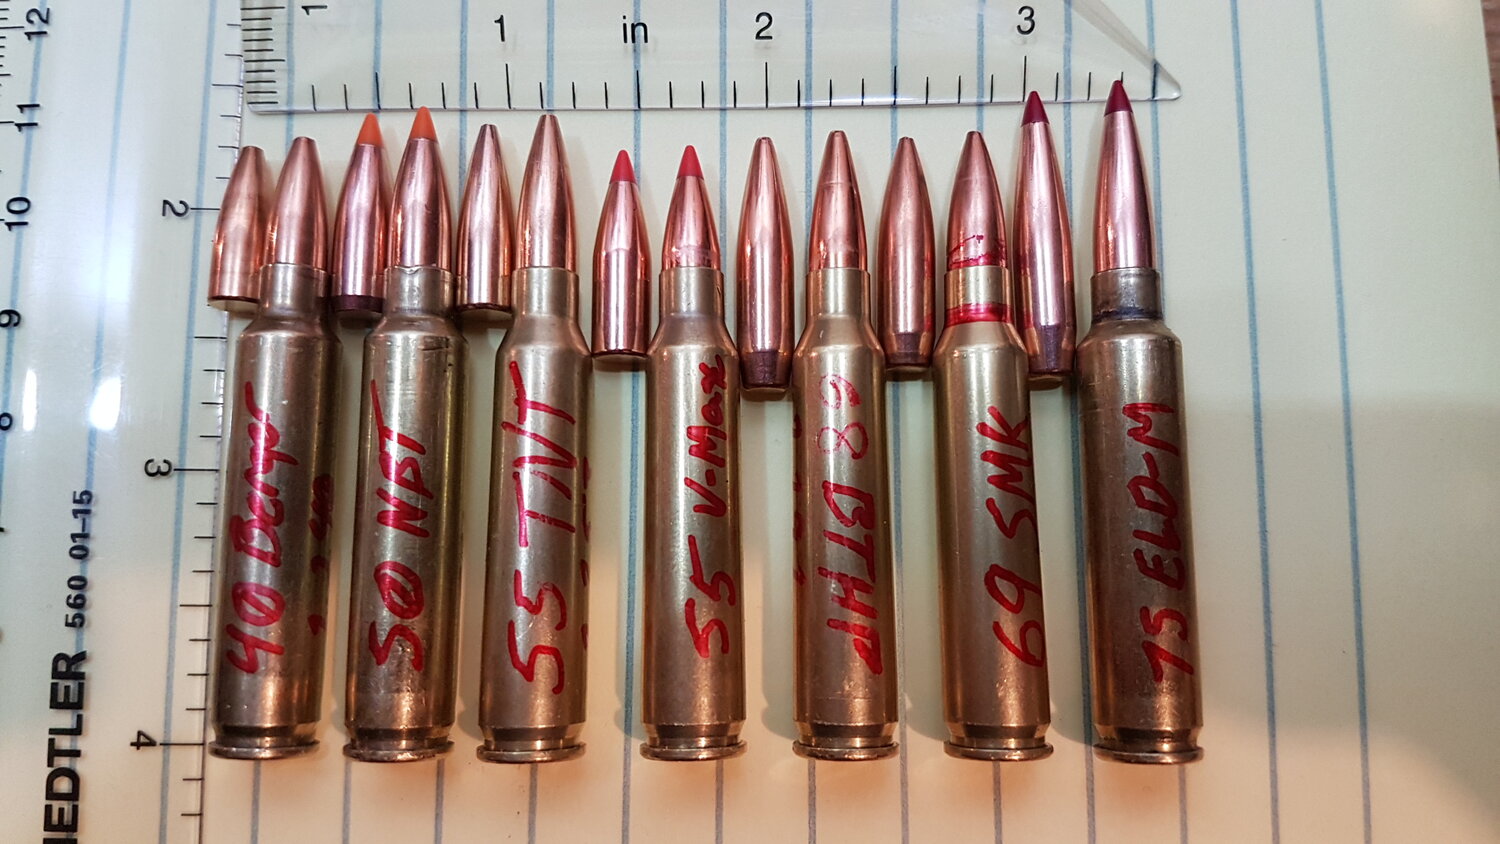
Use of bullet comparator devices.
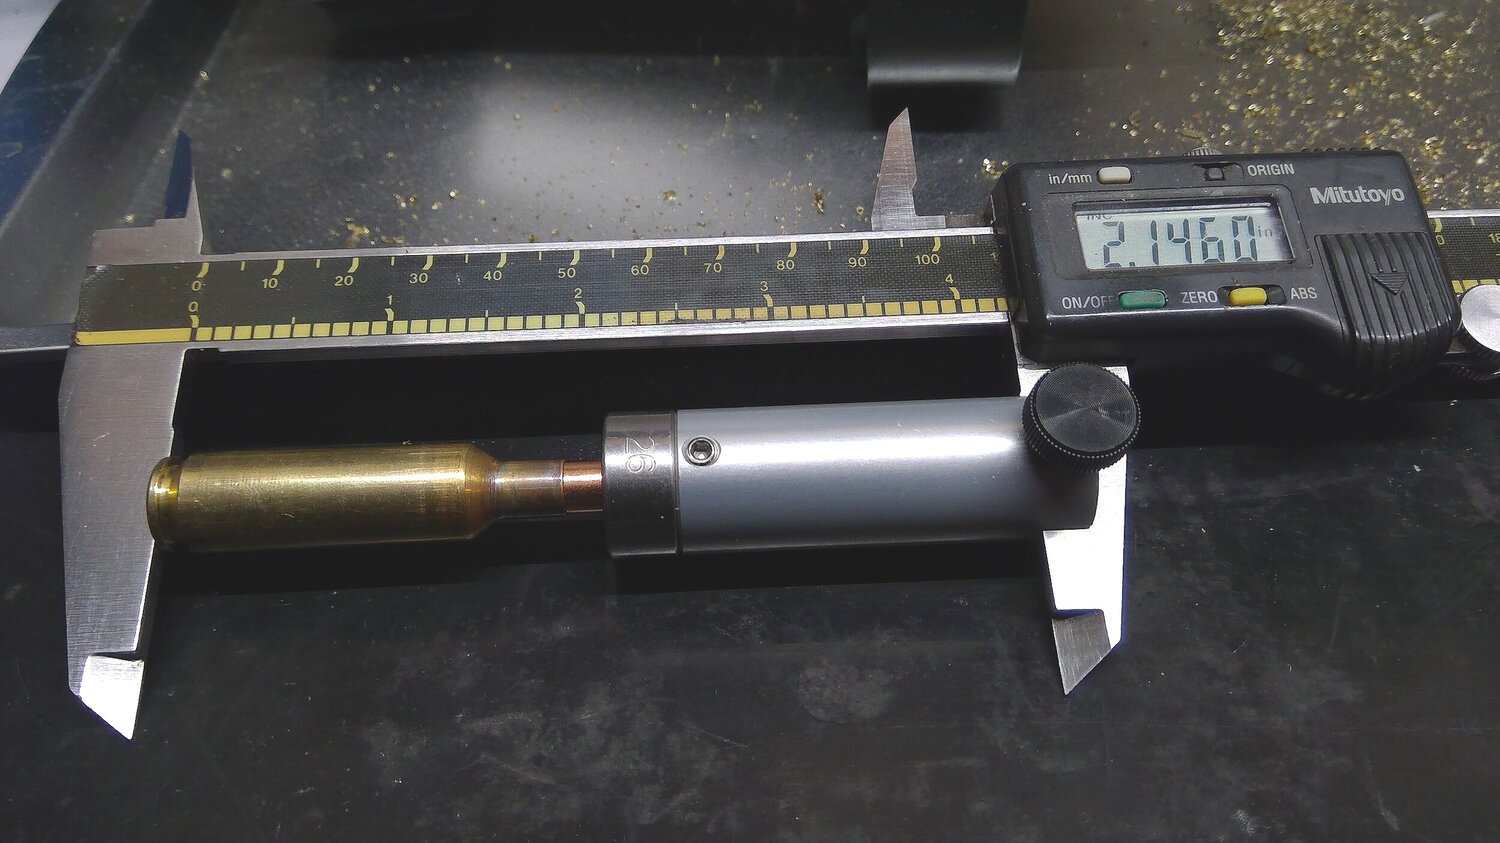
There are several comparators on the market and most will do a good job of getting the dimensions that the handloader seeks for his or her records. One very important thing to keep in mind is that all of the comparators (that I’m aware of) give a reference dimension, and not the true location of the bullet-to-rifling engagement point. This reference dimension is all that is needed for the handloader to determine a starting point for testing.
Once these reference dimensions have been established, the decision to seat the bullets for a ‘jump’ to engage the rifling, a ‘jam’ into the rifling, or a simple touch on the rifling for initial testing can then be made. We will get into the specifics of each method shortly.
I strongly suggest the use of comparators to measure off the ogive of the bullet rather than an overall dimension to the bullet tip, as bullet tips are inconsistent enough to skew results, wildly in some instances. The modest investment in quality tools when you get to high level handloading pays dividends and most often leaves one with little to no excuses for poor performance.
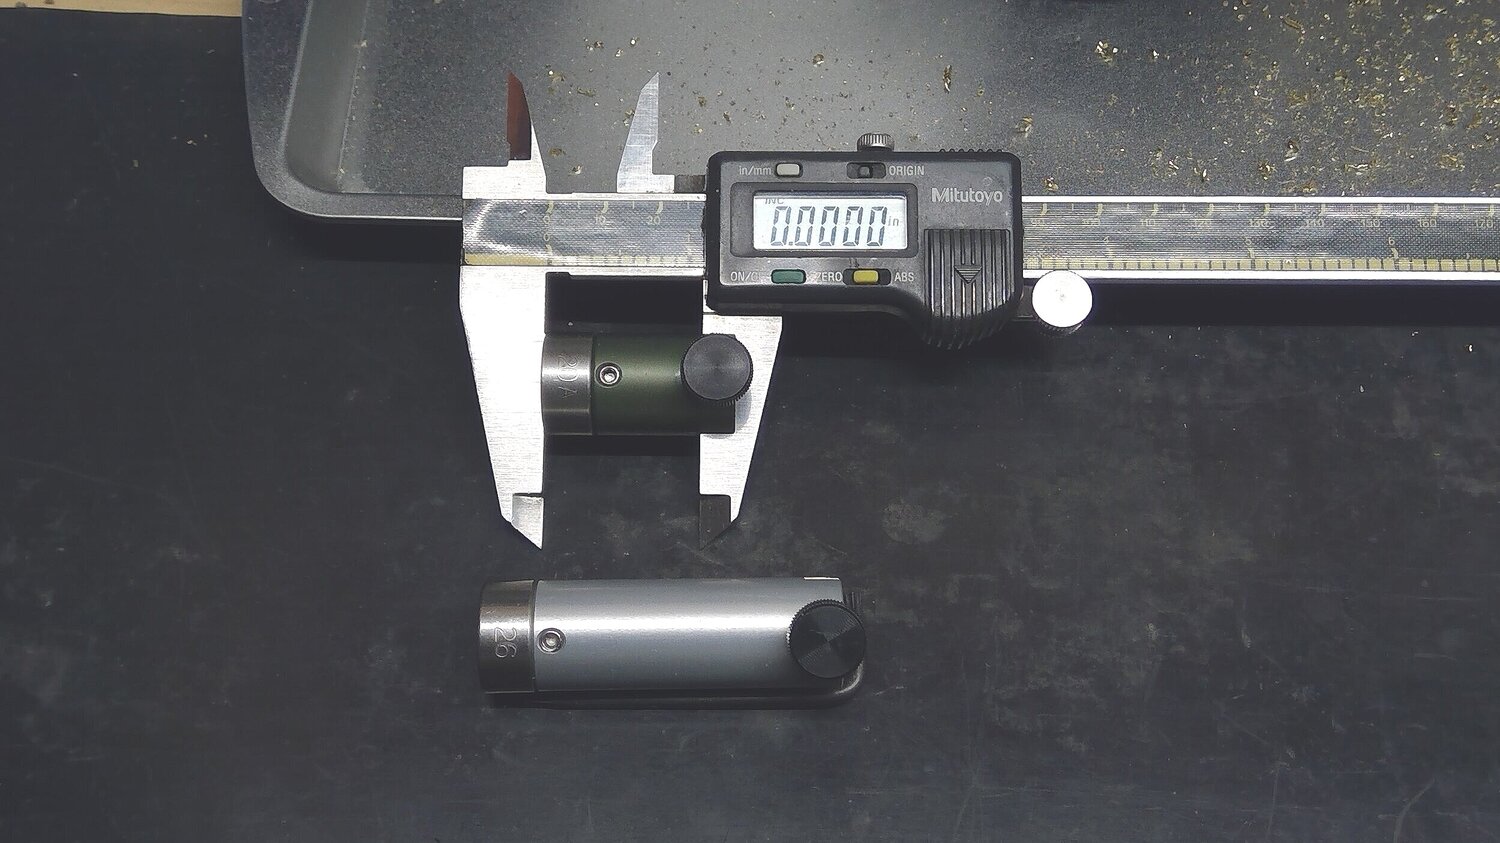
Below are a couple different comparators and their uses with different inserts.
Jump, jam, or touch?
There are many factors to consider when making the decision to seat a bullet to a specific length relative to the rifling. Shooting discipline, accuracy requirements, bullet design, chamber design, and magazine length for repeaters should all be considered. Generally speaking, when getting ready to conduct initial load testing for a rifle, I will seat bullets to a touch or a light jam of .010”. This allows me to find my maximum powder charge reliably, as indication of pressure appears slightly earlier in this configuration than it would if there was an uninhibited jump. By doing initial testing this way and finding a set point of pressure limit, I can then work on refining powder charge testing to search for stable velocity nodes at a speed that is satisfactory.
Once suitably stable velocity has been found by testing a range of powder charges, the handloader can then experiment with varied seating depths to further tune the load or to find a jump length as may be required due to magazine length restrictions. One excellent resource for seating depth testing comes from Berger Bullets. Berger suggests that the “sweet spot” of a bullet in relation to the rifling is a band typically .030” to .040” wide and can be found at as much as .150” jump off the rifling. The following link is an article describing Berger’s recommended test to find this sweet spot. Though this article was written specifically for VLD bullets, the same method can be used for any chosen bullet with good results.
Getting the Best Precision and Accuracy from VLD Bullets in Your Rifle | Berger Bullets Blog
To close out this blog entry, it needs to be said that my process is not the only one that works – there are many ways to skin a cat and what I have described here is what I have found to work best for me. There are just as many handloaders out there who find that seating depth testing before powder charge testing is best as there are who say the opposite. The great thing about our sport and hobby is that endless possibilities exist when it comes to processes and testing theories. Try your hand at as many methods as possible and find one that suits you best and which results in the best possible outcomes as is consistently attainable. This will be your key to success.
Take care and stay in love with our sport!
Rooster
Leave a Reply